RaspBerry Pi 官网有提供各种 OS 给用户安装,而我选的 OS 是 Pidora, Pidora OS 是从 Fedora 演变来的,而 Fedora 又是从 Redhat 移植过来的,如果你是习惯 Redhat 系统的用户,那么会比较容易上手,这也是我选 Pidora 的原因。
目前 Raspberry 使用的 cpu 都是 arm arch,所以只能装有支援 arm 的 OS ,而且不同 cpu arch 的软体是不能互装的,如果你已经有在 center OS ,RHEL 等等 OS 编译过的程式,到 Pidora 还要重新编译
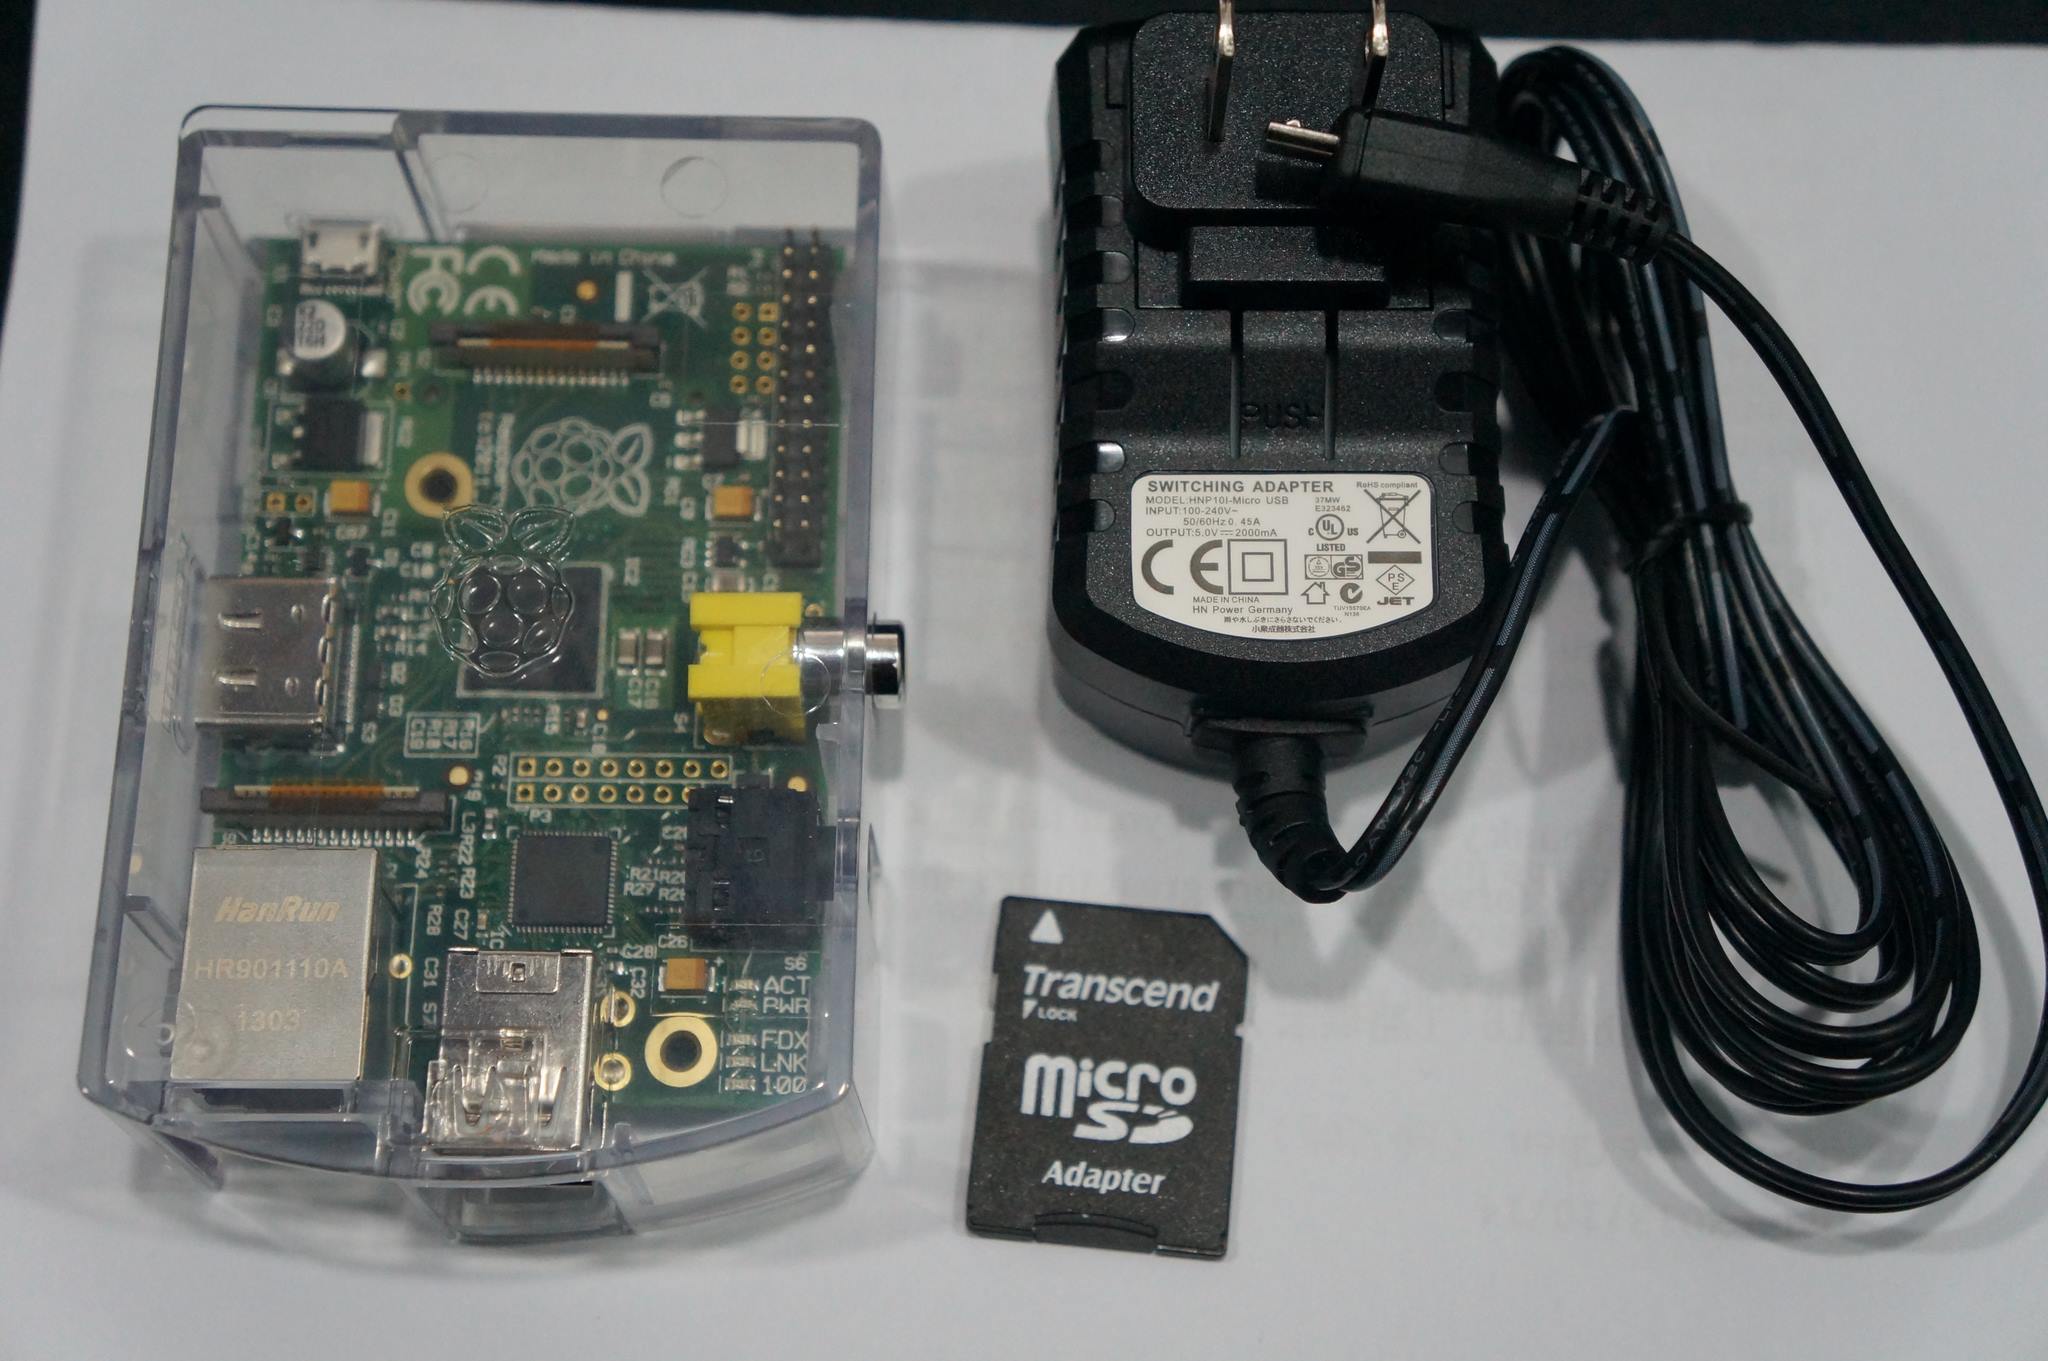
先来看一张 Raspberry 的实体
安装 Pidora
- 下载页面 http://www.raspberrypi.org/downloads
- 选择 OS: pidora-18-r2c.zip
下载好 Pidora 后,不要以为将资料夹 copy 到 SD Card 就能开机,必须透过软体将 image 的内容直接写入至 SD Card。
使用 Windows 安装 OS
- 下载 win32diskimager-v0.9-binary
- 启动 win32diskimager 将 pidora 写入至 SD Card。
使用 Linux 安装 OS
在 Linux 中可以使用 dd 这个指令,将 OS 安装至 SD Card,可以先使用 df 或 lsusb 查询你 SD Card 的代号(/dev/sda1)。
- dd -if pidora.image -of /dev/sda
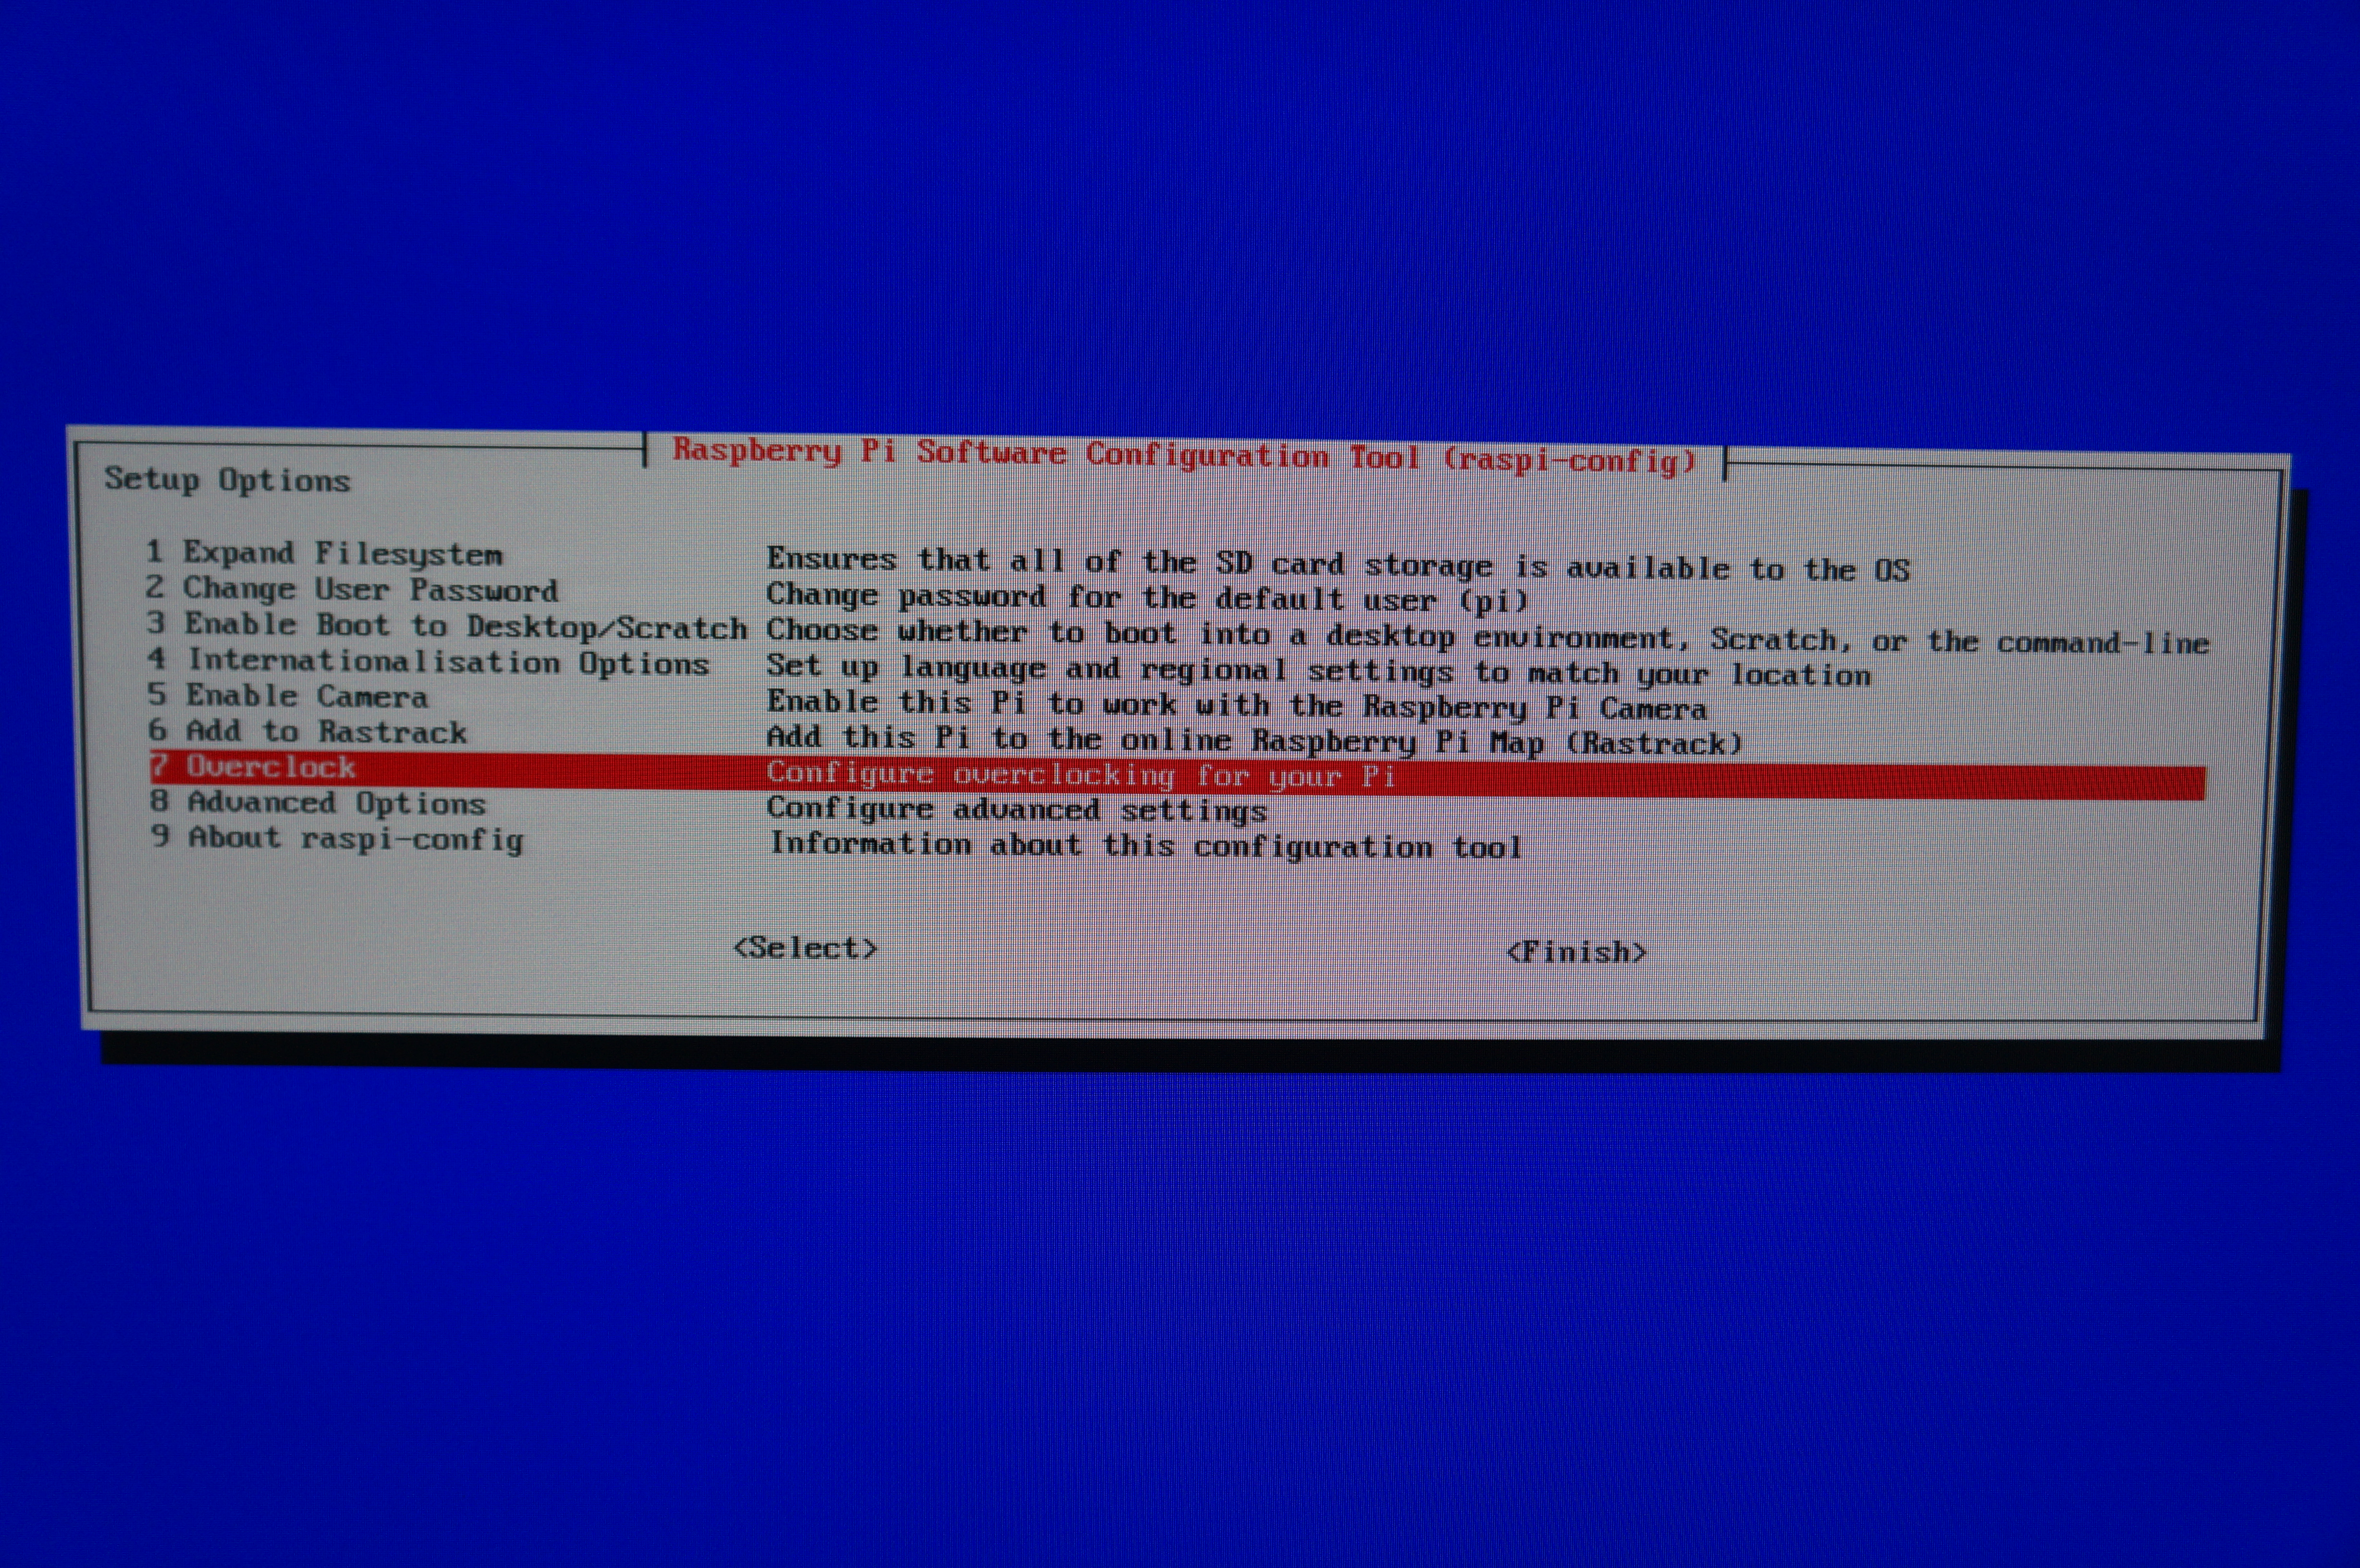
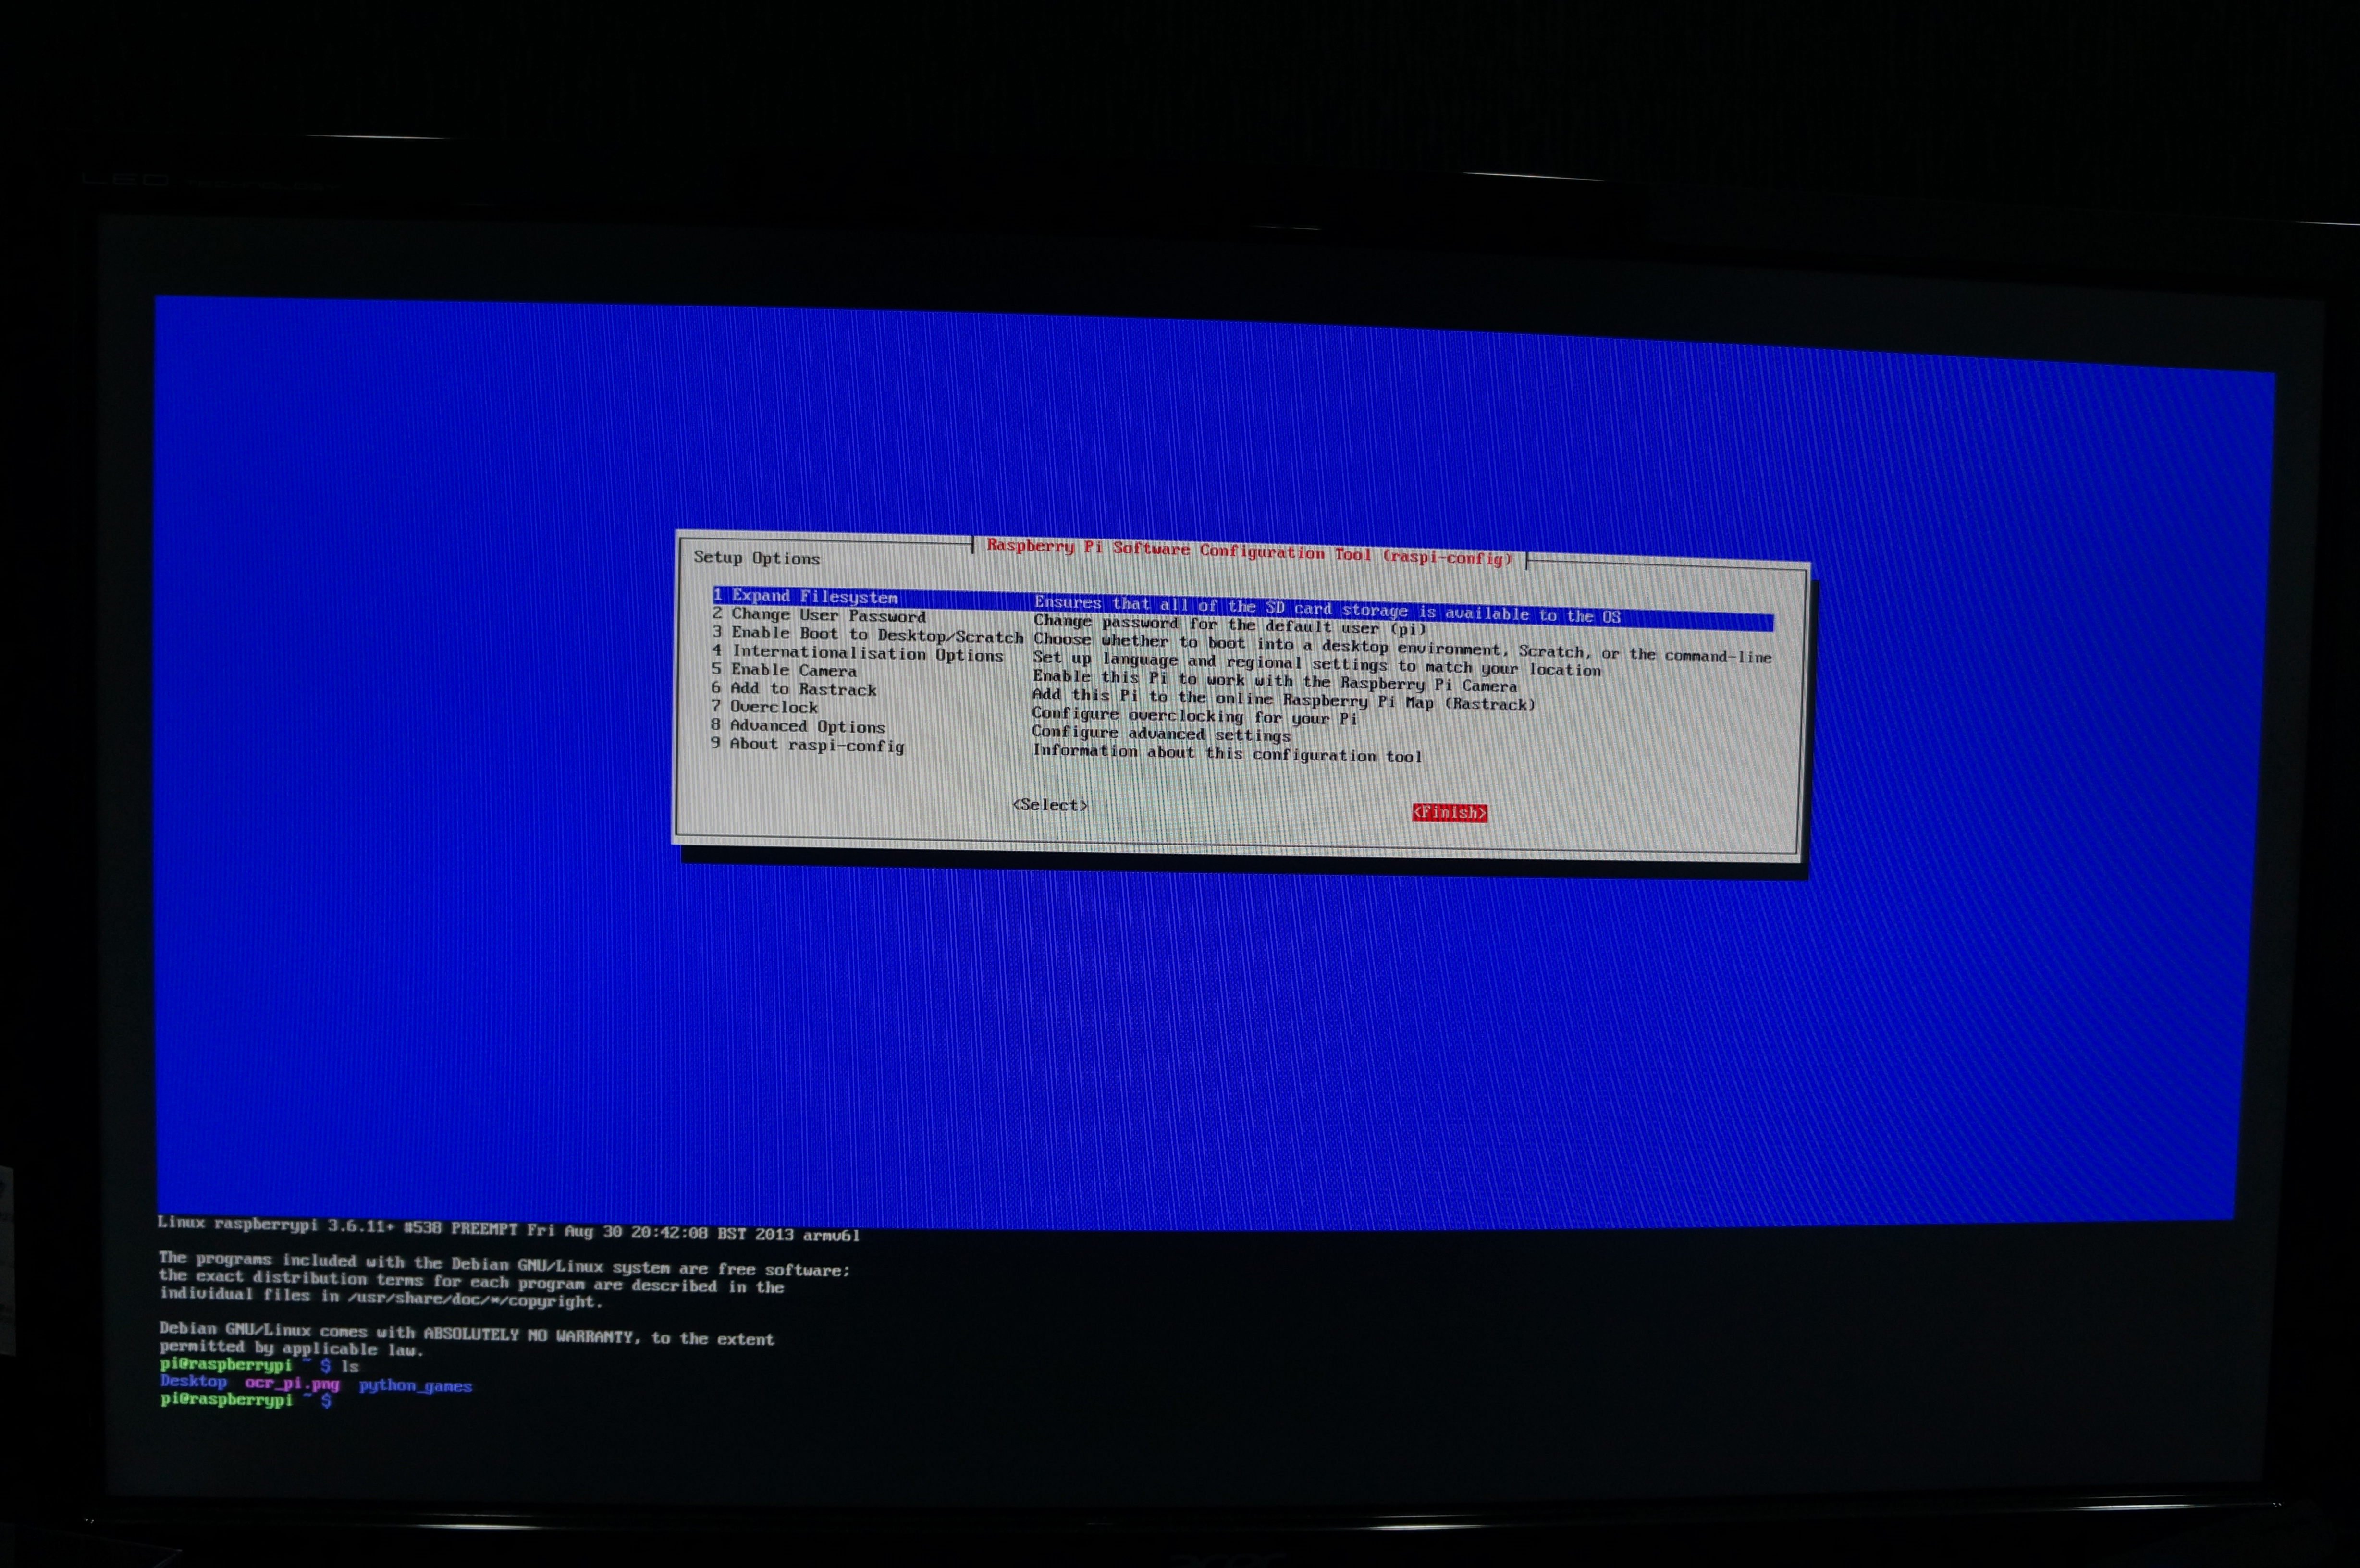
开机预设关闭 xWindow
- sudo rm /etc/systemd/system/default.target
- sudo ln -s /lib/systemd/system/multi-user.target /etc/systemd/system/default.target
启用 xwindow
- sudo ln -s /lib/systemd/system/graphical.target /etc/systemd/system/default.target
更新系统时间
Raspberry 只要将 SD Card 拔掉再插入,系统时间就会出错,可以使用下列语法,跟网路上的伺服器同步时间
- sudo ntpdate pool.ntp.org
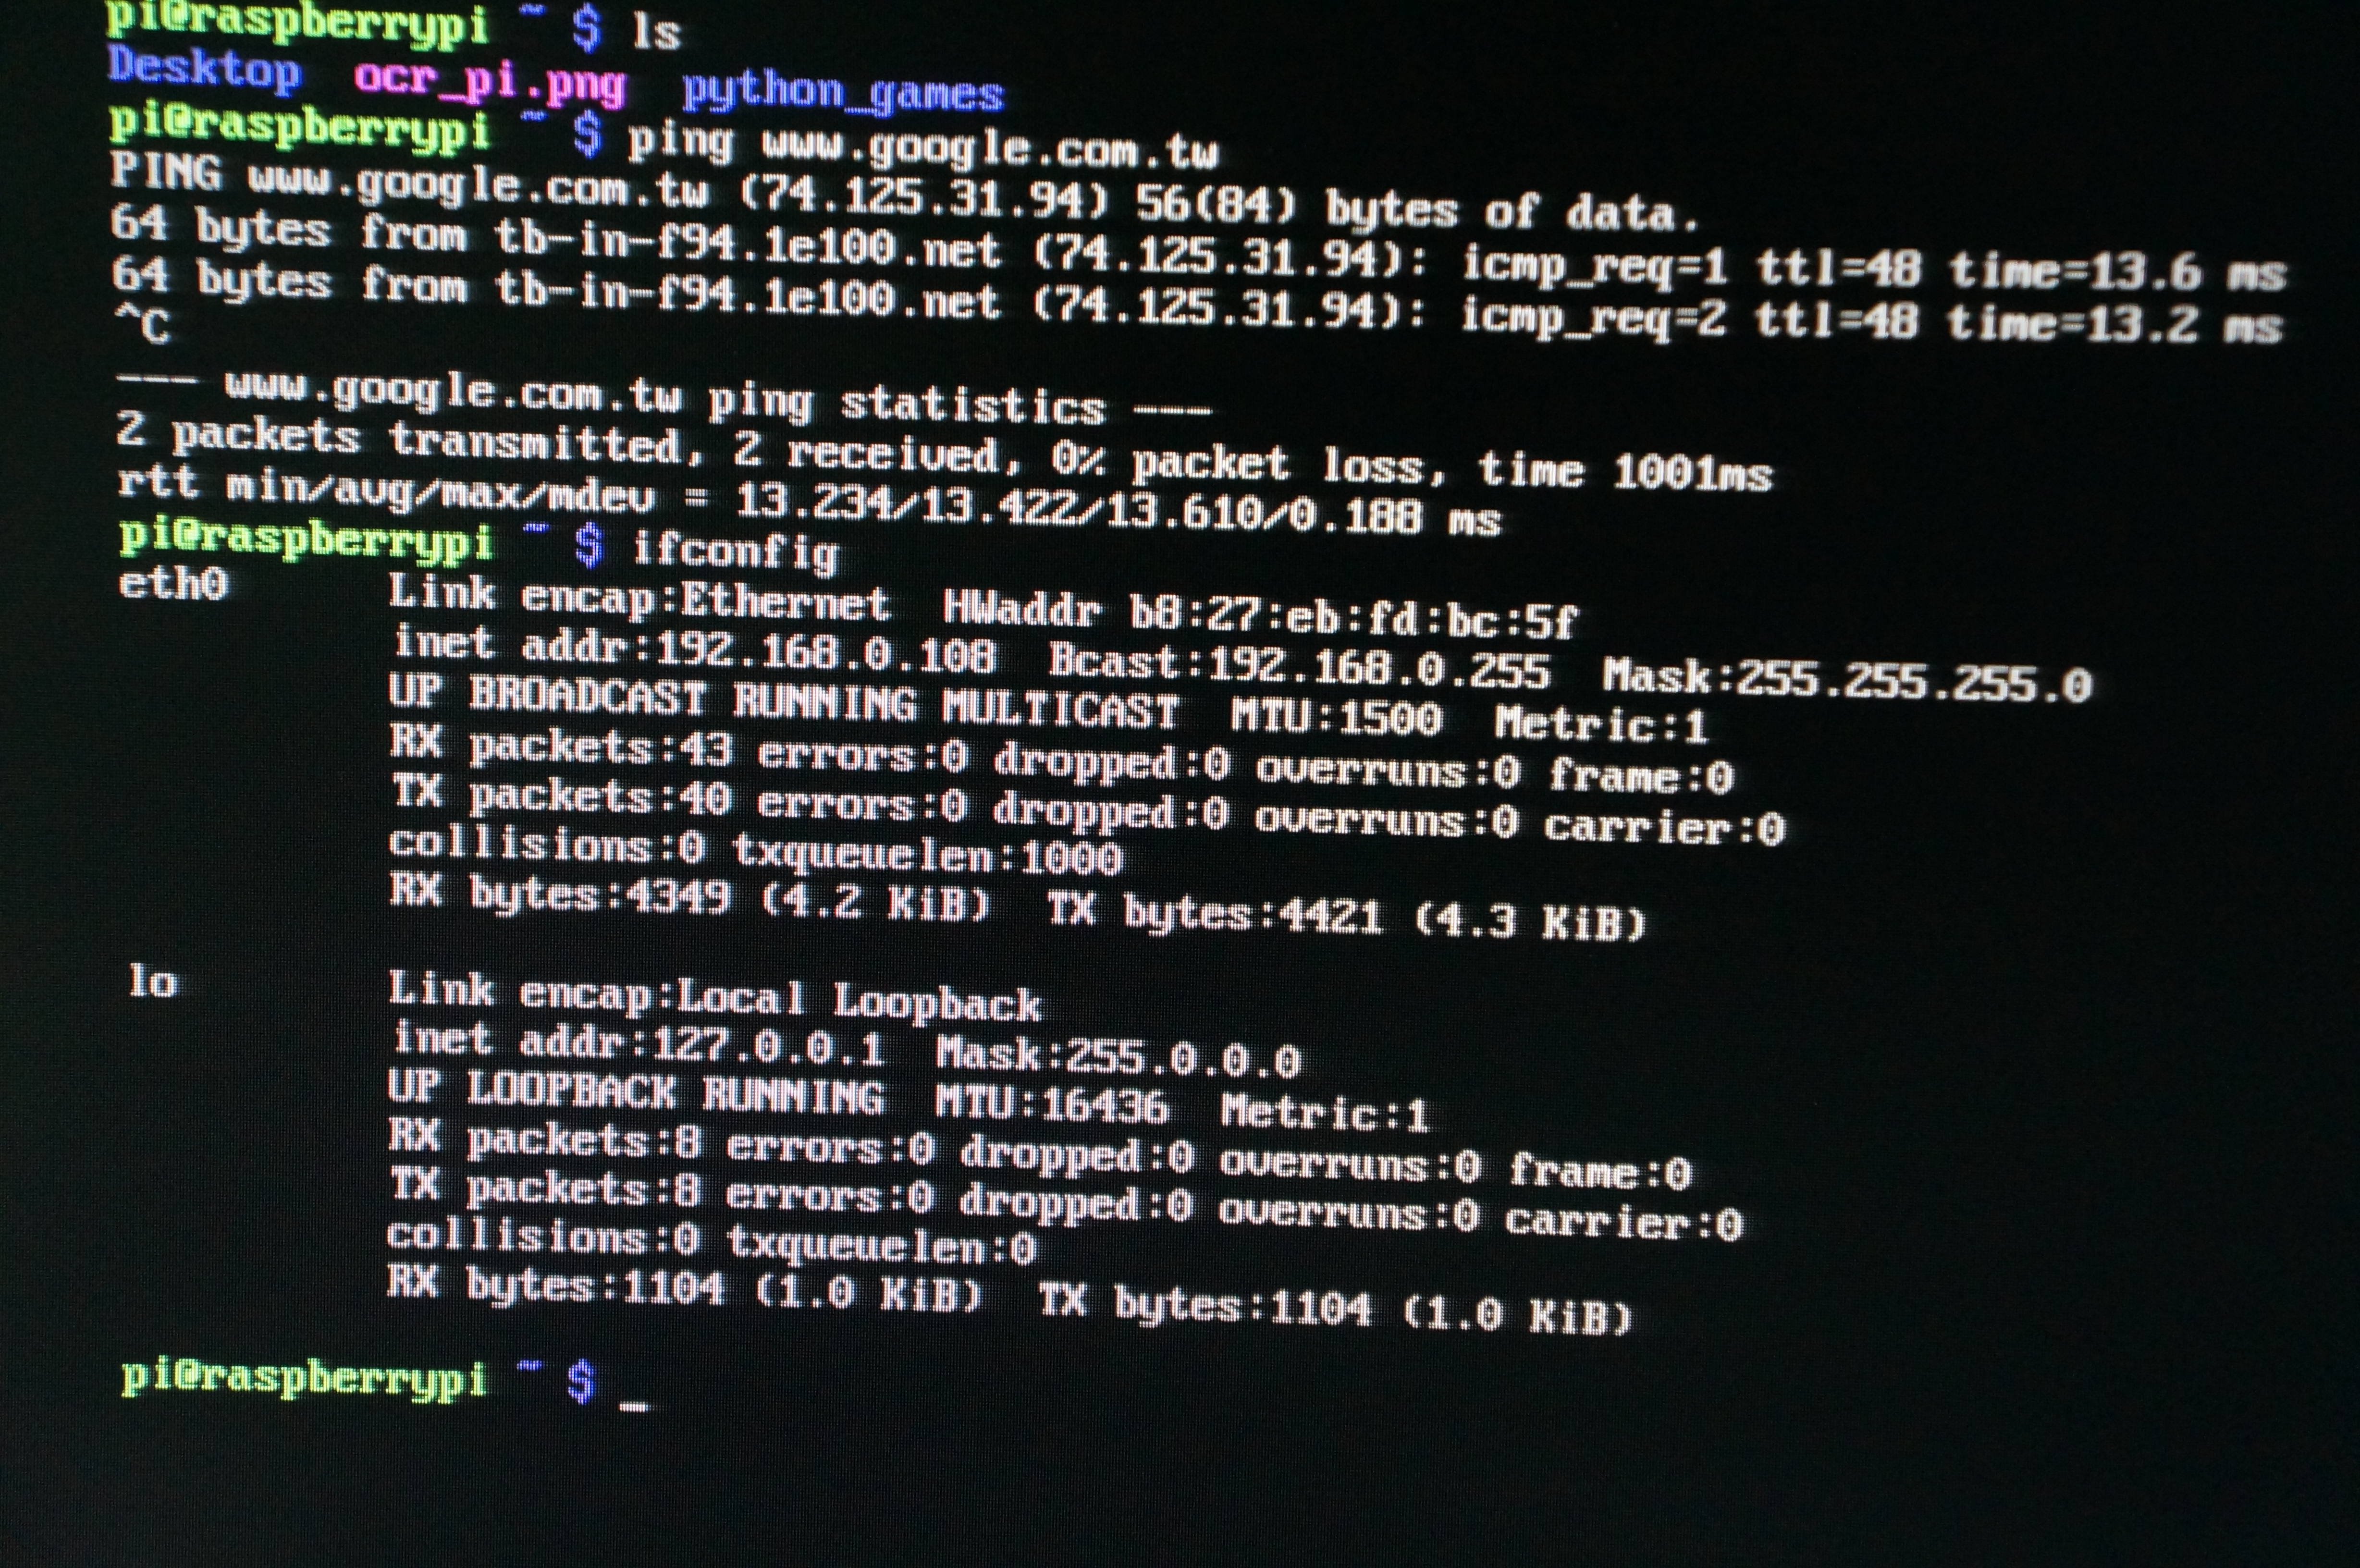
网路重新启用
- ifconfig eth0 down && ifconfig eth0 up
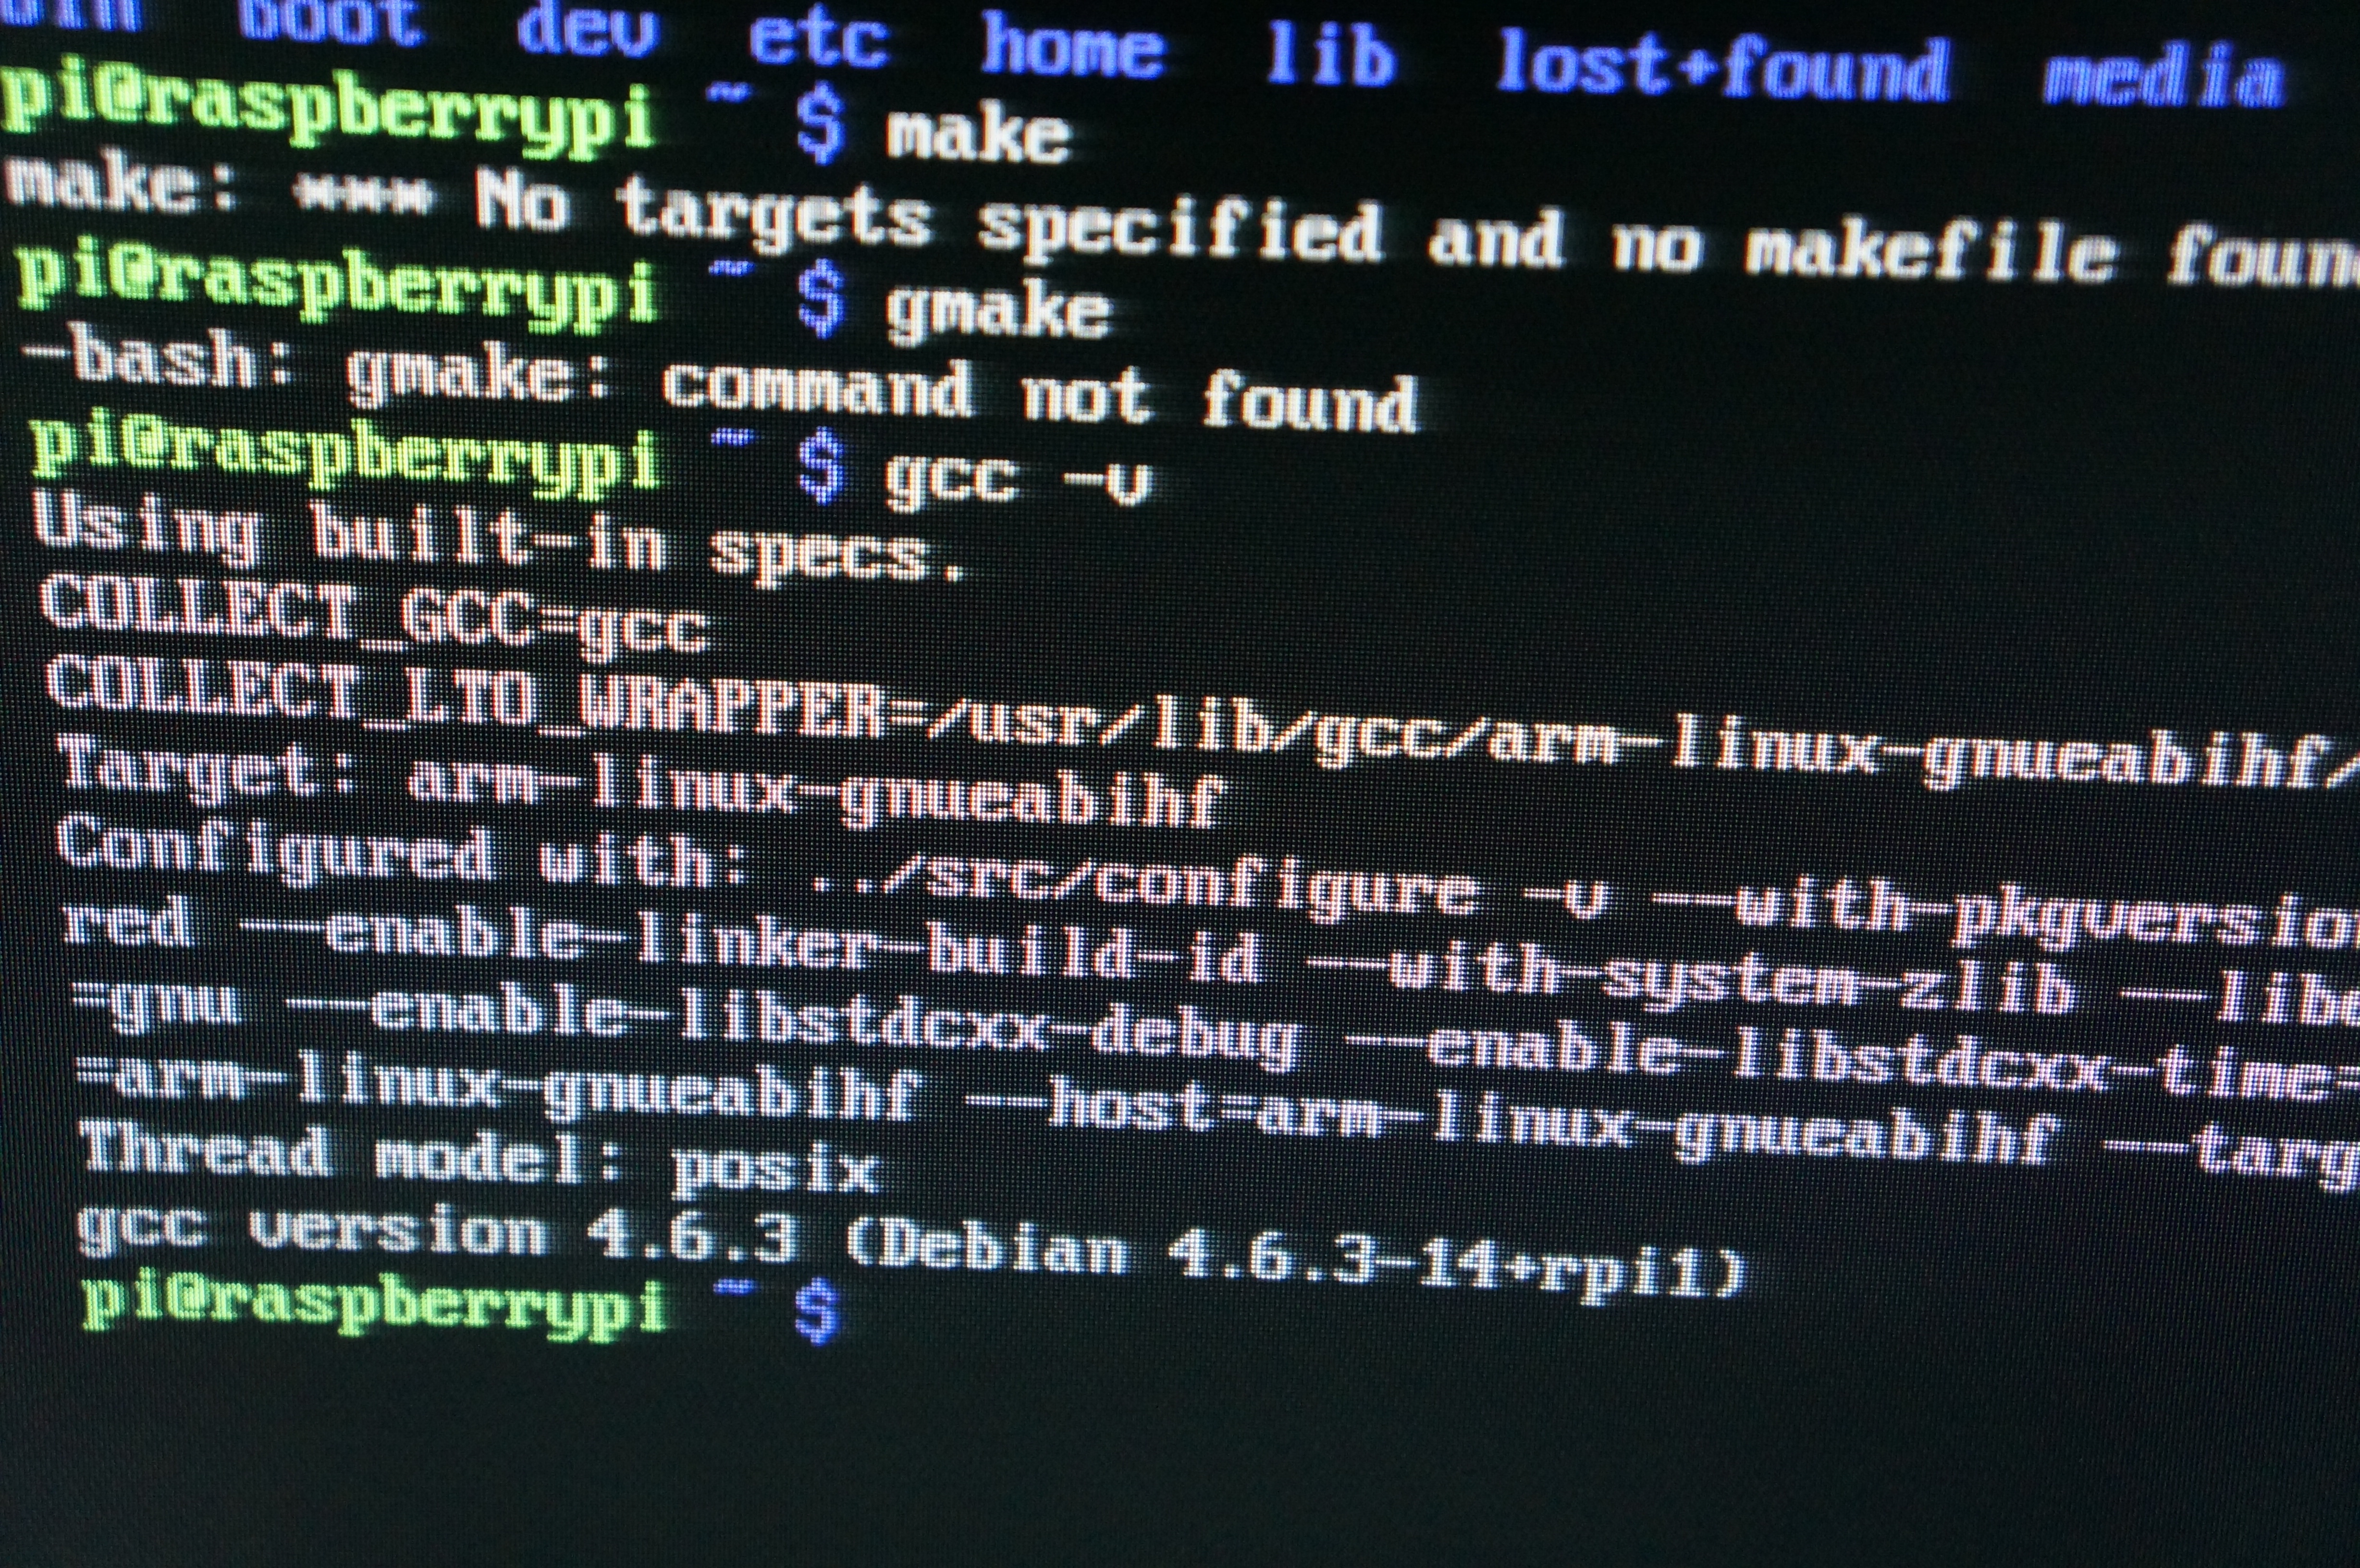
安装 Package
- sudo yum install vim
- sudo yum install screen
iptables
预设 Pidora 是有启用 iptables ,所以部分 port 是会阻挡外部连线的,可以用下列的指令,开启 port 。
- sudo service iptables restart
- sudo iptables -F (清除 iptables 的所有规则)
- sudo /sbin/iptables -t nat -A PREROUTING -i eth0 -p tcp --dport 80 -j DNAT --to 127.0.0.1:80
允许外部机器连到 Mysql 3306 port
- sudo /sbin/iptables -t nat -A INPUT -p tcp --dport 3306 -j ACCEPT
如果你上一步的设定有打错,例如 IP 绑错网卡,这时就会须要重新设定 iptables ,设定方式是先将 iptable rule 存成一个档案,编辑后,再重新写入。
- sudo iptables-save > iptables.rules
- vim iptables.rules
- sudo iptables-restore < iptables.rules
启用 crontab
- sudo service crond start
Sata 与 SD Card 写入,速度差别
- Sata 529 MB/s
- SD Card 68.4 MB/s
Format USB and mount
小型主机当然要搭配小型的 storage ,首面插上 USB, pidora 自动会读取到 USB ,不过如果你不是使用 EXT3 格式,当你要修改档案权限的时候,会被 OS 给中断掉,所以我得先格式化 USB。
输入 「sudo mkfs.ext3 /dev/sdb1 」 将 USB 格式化成 ext3 格式
最后 「sudo mount /dev/sdb1 /xxx」 将 USB 挂到 /xxx 目录
Raspberry 安装过程