2015
Sep
25
React render HTML 方式,是把 JS 與 HTML , CSS Style 混在一起寫,所以剛開始使用的時候常常用方式,造成程式錯誤,這篇文章會說明 React Render 部分的寫法。
Single ForLoop
先來介紹如何用單層迴圈來 Render 一個列表,方法很簡單,去 React 官網也可以找到很多範例,只要用大括號 "{}" 就能完成這個功能。
{list.map(function (val, index) { ... } }
來寫一段 React 程式碼,我希望能夠水平顯示出一排圖片,就像下面這個 Demo 頁。
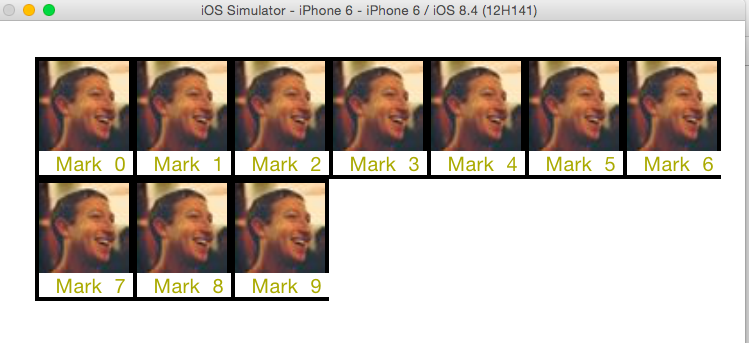
以下是實作的原始碼:
Single for loop render
- render: function() {
- var img = "https://fbcdn-profile-a.akamaihd.net/hprofile-ak-xfp1/v/t1.0-1/p50x50/10390028_10102210419817761_5871103530921178170_n.jpg?oh=2250e4b8512bcdb3cd20675cd0fc7c76&oe=569E6D23&__gda__=1453290568_8a1813e8716960d2912d543217bbf197";
- var list = [{},{},{},{},{},{},{},{},{},{}];
- var name = "Mark Zuckerberg";
- return (
- <View style={{height: 500, with: 500, flex: 1, alignItems: 'center', justifyContent: 'flex-start', flexDirection: 'row', flexWrap: "wrap", marginTop: 180, marginLeft: 20}}>
- {list.map(function (val, index) {
- if (name.length > 5) {
- name = name.substr(0, 5);
- }
- return <View style={{textAlign: "center", width: 49, borderWidth: 2, borderColor: "#000", borderStyle: "solid"}}>
- <Image
- source={{uri: img}}
- style={{width: 45, height: 45}}
- />
- <Text style={{textAlign: "center", fontSize: 10, weight: "bold", color: "#aaaa00", width: 49}}> {name} {index} </Text>
- </View>
- })}
- </View>
- );
- }
Double Forloop
上一個範例中只有單純的一排圖片,當圖片超過螢幕的寬度時,圖片會自動換到下一行,如果我希望一排最多只放五張圖片,這時就可以改用 Double Forloop 來實現。
Demo 圖:
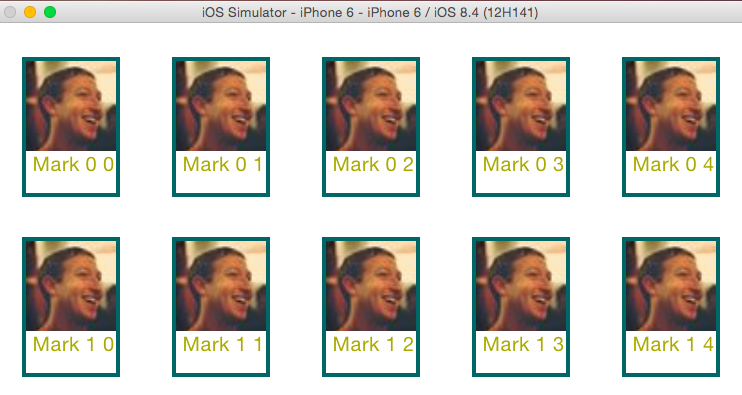
這個範例我多加了一些 CSS ,美化一下排版,以下是實作的原始碼:
Double Forloop
- var movie = React.createClass({
- render: function() {
- var img = "https://fbcdn-profile-a.akamaihd.net/hprofile-ak-xfp1/v/t1.0-1/p50x50/10390028_10102210419817761_5871103530921178170_n.jpg?oh=2250e4b8512bcdb3cd20675cd0fc7c76&oe=569E6D23&__gda__=1453290568_8a1813e8716960d2912d543217bbf197";
- var list = [];
- list.push([{},{},{},{},{}]);
- list.push([{},{},{},{},{}]);
- var name = "Mark Zuckerberg", template;
- return (
- <View style={{marginTop: 80, flex: 0}}>
- {list.map(function (l, index) {
- return (
- <View style={{flex: 1, height: 70, justifyContent: 'space-around', flexDirection: 'row', flexWrap: "wrap", marginBottom: 20}}>
- {l.map(function (val, index2) {
- if (name.length > 4) {
- name = name.substr(0, 4);
- }
- return <View style={{textAlign: "center", borderWidth: 2, borderColor: "#066", borderStyle: "solid"}}>
- <Image
- source={{uri: img}}
- style={{width: 45, height: 45}}
- />
- <Text style={{textAlign: "center", fontSize: 10, weight: "bold", color: "#aaaa00", width: 45}}> {name} {index} {index2} </Text>
- </View>
- })}
- </View>
- );
- })}
- </View>
- );
- }
- });
Multi function render
上面的範例中,render function 的程式碼很長,因為每個 Forloop 程式都塞到同一個 function 裡,這樣降低了程式的可讀性,所以我再把一個 render function ,切出兩個 renderList 與 renderPerson function。
實作程式碼如下:
Multi function render
- /** Render **/
- render: function() {
- var self = this;
- var img = "https://fbcdn-profile-a.akamaihd.net/hprofile-ak-xfp1/v/t1.0-1/p50x50/10390028_10102210419817761_5871103530921178170_n.jpg?oh=2250e4b8512bcdb3cd20675cd0fc7c76&oe=569E6D23&__gda__=1453290568_8a1813e8716960d2912d543217bbf197";
- var list = [];
- list.push([{},{},{},{},{}]);
- list.push([{},{},{},{},{}]);
- var name = "Mark Zuckerberg";
- return (
- <View style={{marginTop: 80, flex: 0}}>
- {list.map(function (l, index) {
- return self.renderList(l, img, name, index);
- })}
- </View>
- );
- },
- renderList: function (l, img, name, index) {
- var self = this;
- return (
- <View style={{flex: 1, height: 70, justifyContent: 'space-around', flexDirection: 'row', flexWrap: "wrap", marginBottom: 20}}>
- {l.map(function (val, index2) {
- return self.renderPerson(img, name, index, index2);
- })}
- </View>
- );
- },
- renderPerson: function (img, name, index, index2) {
- if (name.length > 4) {
- name = name.substr(0, 4);
- }
- return <View style={{textAlign: "center", borderWidth: 2, borderColor: "#066", borderStyle: "solid"}}>
- <Image
- source={{uri: img}}
- style={{width: 45, height: 45}}
- />
- <Text style={{textAlign: "center", fontSize: 10, weight: "bold", color: "#aaaa00", width: 45}}> {name} {index} {index2} </Text>
- </View>
- }
回應 (Leave a comment)